
The carburetor is tuned and on the bike. I had a Ryan Gosling moment when I recreated the scene in the film Drive where he's working on the carburetor on this living room table. I did the RYCA carb tune and upped the main jet to the 155 and the pilot to the 55. Easy peasy, except the pilot screw was too tight and I stripped the screw slot. Luckily I had a small bit and an EZ-out. Main concern was keeping the swarf out of the carb. I also drilled out the air mixture screw and turned it out 1.5 turns (from all the way in) per the RYCA youtube video instructions for sea level.
Check out the flash velocity stack. It fits perfectly. Amazing considering nothing else has. A pleasant shock. The mouth is in a fairly confined area for air availability, however, no more so than the K&N filter that comes with the kit. You can see where the upper edge of the bellmouth opening slots exactly into the stock cutout in the RYCA kit and the stock frame cross member.


This pic to the right shows the stack and carb from above. Miraculously, no riding condition:
Now: what's wrong -
Here's where things started tanking. First off, I the decompression pin or whatever it is called under the valve cover is already cocked slightly forward. You can take off the valve adjustment doors and get on the right hand side of the bike and look in and you'll see how it works. When the decompression pin is turned CCW (as viewed from the LH side of the bike), it pushes down on the rocker arm and opens the valve just enough to reduce the compression to prevent straining the starter motor. The idea in the RYCA kit is brilliant, I loved (past tense), the stainless lever/linkage mechanism that is foot activated using the old brake pedal. Brilliant stuff, lots of geeky moving parts, very clever and mechanical. However, in the photo below, you can see my decomp pin at rest.

The following photo shows where it engages the rocker, meaning where it
starts to push the rocker down, crack the valve open slightly and reduce
compression. That's about 15 degrees from horizontal. I bent the
long SS rod at the existing elbows repeatedly trying to gradually get
the angles I needed to be able to activate the decomp pin WITHOUT having
it touching the rocker at rest. The mechanical advantage or in this case disadvantage is just too great to over come without modifying the rod for my bike. The clevis pins were all maxed out in the sharpest bend angles and the connection still could not be made without pre-loading the rod. You'll have to look at all of this on
the bike to really follow what I'm saying. Sorry for the blurry pics.

So remove adjust install remove adjust install. I finally went to tighten the SS linkage rod to the clevis at the foot pedal and it snapped at the threads, ironically, where no bending or anything had been going on. Anyway, the POS is now a hand activated decomp mechanism. One less thing to break in the long run. Obviously this system is working on all of the other RYCA bikes, but, on mine, due to the location of the welds, decomp pin, or whateverTF, it grenaded. See the snapped rod below, nothing left on it, but, the jam nut. My advice on this part of the build: baby steps, be mighty gentle. The SS linkage rod seems to be made of butter.

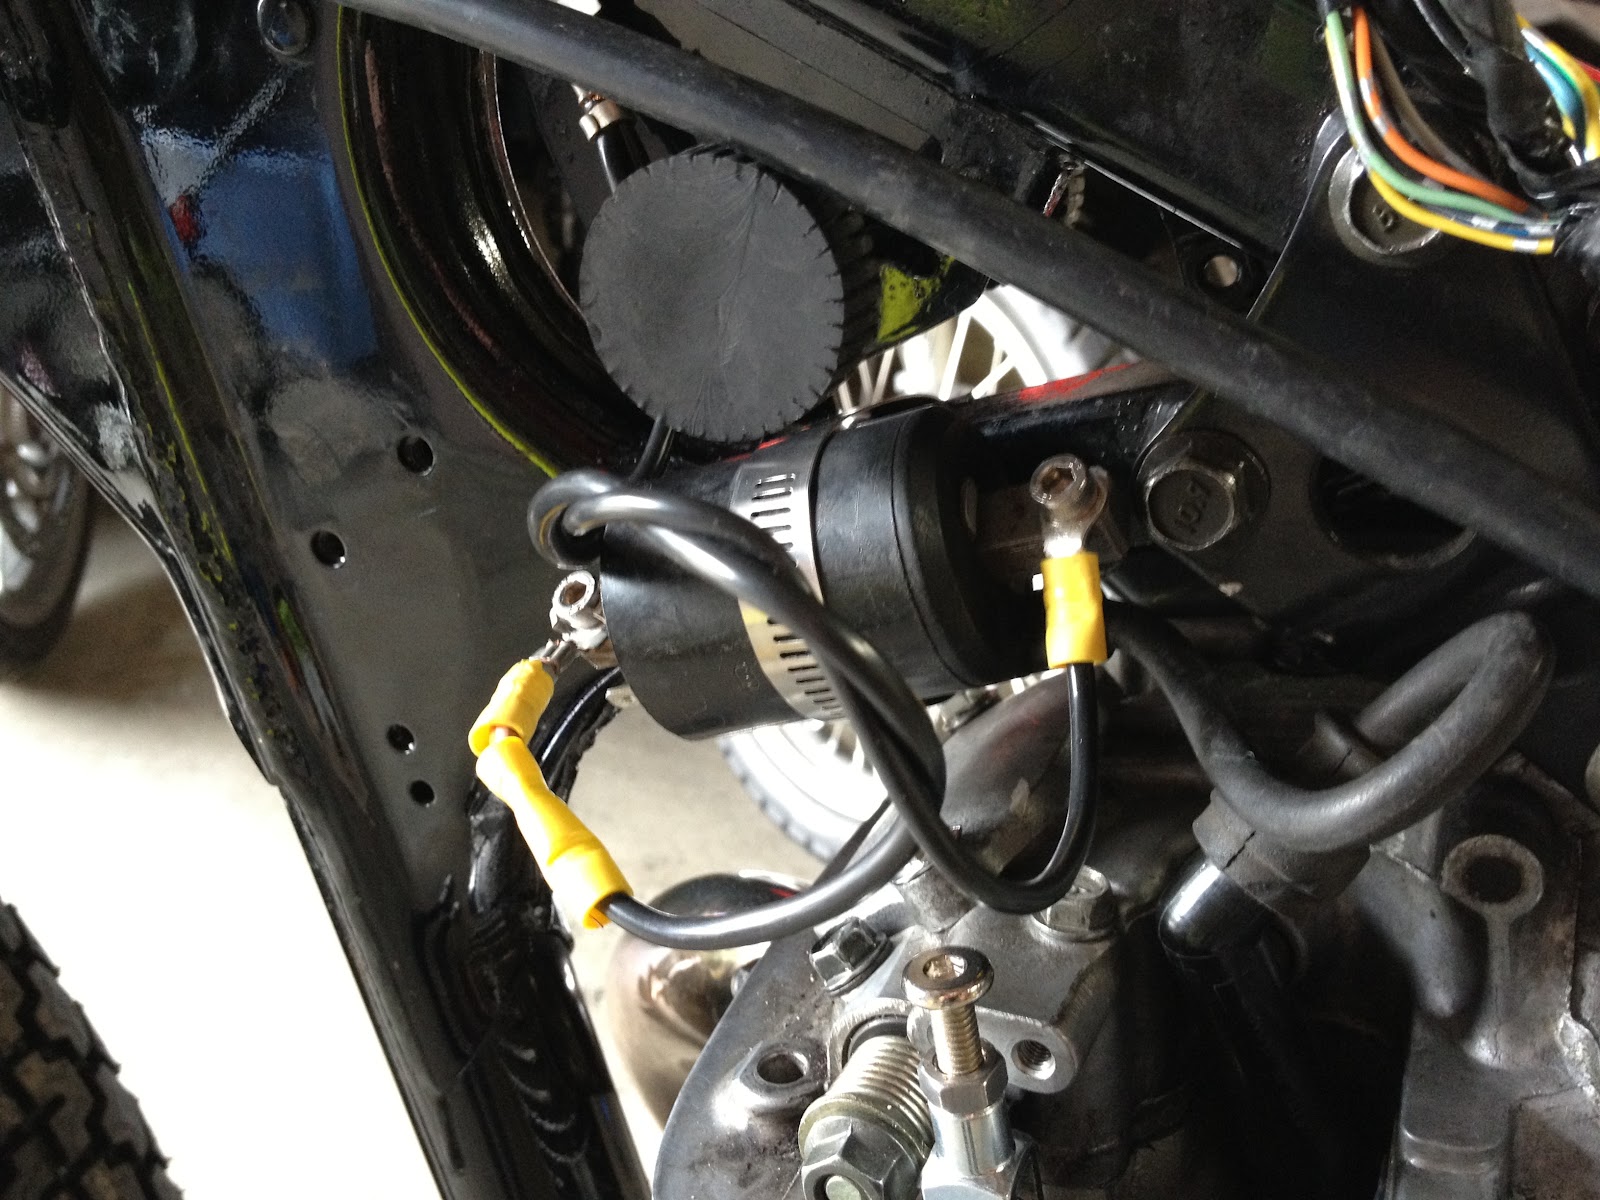
That was no big deal other than lost time. The problem is that my tank was welded back together with the inside too narrow. I had to narrow the mounting rod with the rubber stoppers on the end just to fit it in, see other posts on this blog. Next, I mounted the coil per the RYCA instructions and sure enough, it rides on the inside of the tank, even with the corner filed down just like theirs is in the video. Even with the spacers ground down as far as possible. Basically it does not fit where it is supposed to, so I have it hose clamped to the frame just below. I ran the grounds to an empty hole in the frame. Bad luck, but, problem solved.
At the very bottom of this photo you can see my half-ass, hand-activated work-around for the decompression. It's just a bolt screwed into the clevis, sitting freely. It is possible to decompress by hand. I'll have to hold the clutch in with one hand to start it according to all of the discussion on the Savage forum. No big. I will come up with something better, but, for now, the mission is to get the bloody thing to fire up. The motor still has not been fired up since the rebuild. Hopefully by the end of this week. My seat should be ready soon too. Until then, it's time to put on my new Twerps record and have a beer.
No comments:
Post a Comment